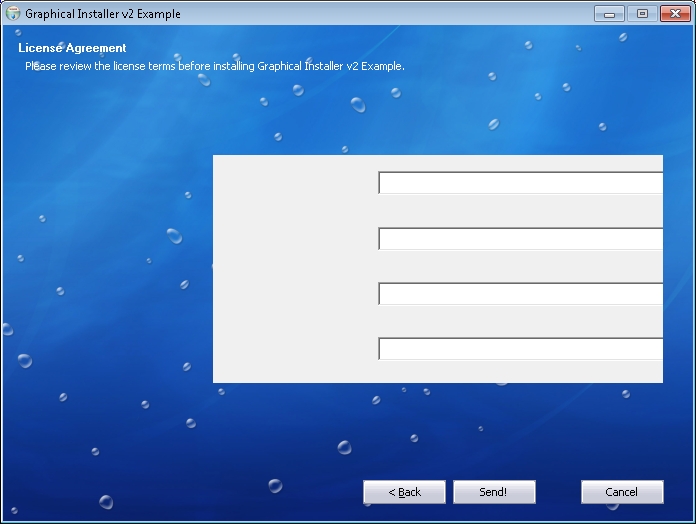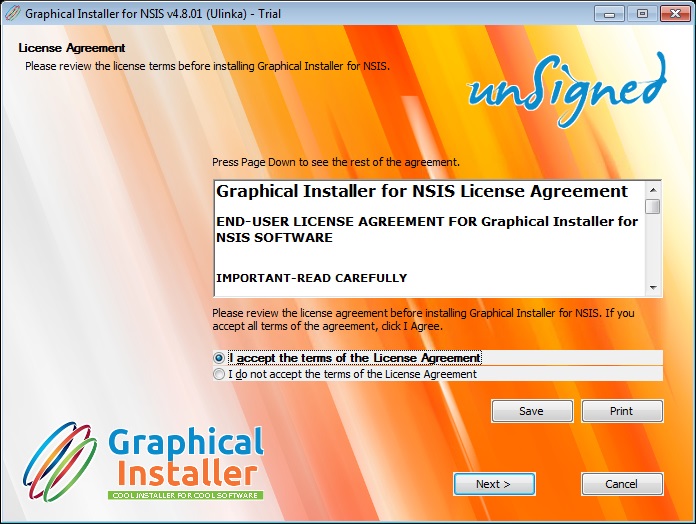
Solution:
Use ${GraphicalInstallerRedrawnsDialogsPage}
symbol into each nsDialogs page creator's function.
This symbol should be inserted just before nsDialogs::Show
(so everything is initialized correctly). It calls appropriate
macro to redraw the dialog correctly.
See the nsDialogs
example for more details.
For InstallOptions pages (officially deprecated) use the
${GraphicalInstallerRedrawInstallOptionsPage}
macro. This macro requires 1 parameter which is image control
HWND.
See the
InstallOptions example for more details.

Solution:
Use ${GraphicalInstallerRedrawCONTROL}
symbol to set transparency on such controls. This macro requires 1
parameter which is control HWND. CONTROL can be one of
these:
Label: Redraws label (no result)
CheckBox: Redraws CheckBox (result is stored in $R9)
RadioButton: Redraws RadioButton (result is stored in
$R9)
Example:
# Create CheckBox control
Var /Global CHECKBOX
${NSD_CreateCheckbox}
0 -50
100% 8u
Test
Pop $CHECKBOX
# Apply transparent redrawing to
control
${GraphicalInstallerRedrawCheckBox}
$CHECKBOX # $CHECKBOX contains control HWND
# $R9 contains result (you can check
this result and show message on error)
If you need to call some function for some page in its PRE or
SHOW usually you would use !define MUI_PAGE_CUSTOMFUNCTION_SHOW MyFunction
But this SHOW function is already used for redrawing page in
Graphical Installer. Use this piece of code to keep both - your and
Graphical Installer's function active:
!define MUI_PAGE_CUSTOMFUNCTION_SHOW MyFunction
Function MyFunction
# Call GraphicalInstallerRedraw to
redraw page
Call GraphicalInstallerRedraw
# Continue with your code
here...
FunctionEnd
If you want to use your custom .onGUIInit function you need to
'overwrite' the onGraphicalInstallerGUIInit function. See the
Irregular Form example for details.
; As Graphical Installer defines custom
MUI_CUSTOMFUNCTION_GUIINIT function it is necessarry to overwrite
it
; Put this code after line: !include
"${NSISDIR}\\Graphical
Installer\\GraphicalInstaller_functions.nsh"
!ifndef MUI_CUSTOMFUNCTION_GUIINIT
!define MUI_CUSTOMFUNCTION_GUIINIT
onGraphicalInstallerGUIInit
!else
!undef MUI_CUSTOMFUNCTION_GUIINIT
!define MUI_CUSTOMFUNCTION_GUIINIT onGUIInit
!endif
Create your own .onGUIInit function (without the dot '.'!) and call
the original onGraphicalInstallerGUIInit function.
; This function is required for
initialization of the installer
Function onGUIInit
; Extract transparency mask (.bmp
file)
SetOutPath $PLUGINSDIR
File "mask.bmp"
; Set form transparency and no
border
GraphicalInstaller::RemoveFormBorder
/NOUNLOAD $HWNDPARENT
Pop $0 # Get result of plug-in: 0 means OK, any other
value is error
GraphicalInstaller::MakeFormTransparent
/NOUNLOAD $HWNDPARENT "$PLUGINSDIR\mask.bmp"
Pop $0 # Get result of plug-in: 0 means OK, any other
value is error
; Call original Graphical Installer GUI
Init function
Call onGraphicalInstallerGUIInit
FunctionEnd
To enable skinning mechanism of Graphical Installer you need to
define symbol GRAPHICAL_INSTALLER_PROJECT_UID. See the
section File <project>.graphics.nsh for
details.
When this symbols is defined skinning mechanism is enabled. Simply
delete this symbol (or comment it out) and rebuild so the installer
will look like any regular NSIS one.
# Hash character (#) at the beginning
of line is a comment. Use it to comment the line out
# !define GRAPHICAL_INSTALLER_PROJECT_UID "Some
value"
And of course if you define this symbol (remove comment) and
rebuild the installer the skinning will work again.

You need to install Microsoft Visual C++ 2010 Redistributable
Package (x86)
Download it here (it is free) and install it on
your machine.
See this technical section how to properly create background images for NSIS.